Sunday 31 May 2015

HNLMS Karel Doorman

So on Friday I had a chance to visit Karel Doorman a Dutch Navy vessel (their version of the joint support ship), not exactly wargaming related but I thought it was interesting so here are some pictures anyway. We had a nice tour, and they allowed us to take any pictures we wanted, and then dinner was served in the hangar with drinks. Was a very nice outing. The basic functions of the ship are replenishment at sea, seas basing, and strategic transport.


Here she is in Montreal. A pretty big vessel at 204.7m length, 27,000 tons displacement.


Bridge and Goalheeper CIWS to shoot down incoming missiles.


Flight  deck.


RAS towers and the aft end of the superstructure.


Steel beach at the end of the vehicle deck, I guess I didn't get a picture of the vehicle deck but they have 2,250m2 of space, they had tons of keep in there. I beleive someone said that this is rated to be used up to sea state 6.


They have a triage center, a ward, and 2 operating rooms. A big part of their mission is foreign aid. The operating rooms are large enough that you can rotate the beds at any angle to minimize the effects of ships motions.


Galley.


View from the bridge, they have a huge fully enclosed bridge, including the wing which overhang. There is a window in the bottom of the wings so you can get a view of the waterline, provides a great line of sight when doing RAS or mooring operations.


View aft from the flight control room.


Views from one of the RAS control room, as you can see they have 3 large hoses to pass oil, water, and helicopter fuel, and a hook up for passing solid cargoes across. Their maximum reach is 90 meters for the RAS depending on the sea state, but we were told that around 45m is the usual maximum. We were told that a replenishment may take up to a couple of hours including half an hour to set up and 10 minuets to take down, and they have the capacity to handle 1 ship either side. Their are elevators in the flight deck that go down to the vehicle deck and ammunition store so they can easily move things over to the RAS area to pass accross.


Very nice ship, really enjoyed this tour.

Thanks;
Mike

Friday 29 May 2015

Battle Report - Firestorm Loraine Campaign Turn 2B

Hi folks, so we got together again for another Wednesday wargaming event and played a game from our ongoing Firestorm Loraine campaign at the club. This is the first of the second phase of turn 2 games. We played the allied attack into Dompaire, so I got 2 platoons of US infantry to add to my force, and the Germans got 3 Reluctant Trained Panthers.

Here are the forces:


And here is the battle field:


So we decided to have it a bit more open for a change, with a giant forest on one side, and a farm on the other, plus a few hills and a road. The whole area of the forest was treated as woods not just the individual bases.

We then rolled for a mission and got Hasty Attack which sounded fun. I guess Patton got a bit annoyed with the slow progress of this sector and is pressing for some action. In hasty attack basically the attacker me, would have to capture one of 2 objectives on the opponents side, while defending one of my own. My reserves would be coming in right away, while Serge was in dellayed and scattered reserves. Although as you can see this force was picked so that reserves would be quite insignificant.

I elected to start with a platoon of tanks, mortars dismounted, and infantry to guard the objective and or advance as the opportunity presented. My plan was that the tanks would go into the forest to hide from the panthers, knock out the Panzer IVs and take the objective. The infantry meanwhile would bother the other objective to keep the Panthers from attacking to much.


So that is what I did, the Germans brought up the Veteran Panthers to chase my tanks, while the reluctant ones stayed by the farm. On my turn I brought in some more tanks from reserve and smoked the Panthers on the road to force them to move. I don't want to fight those Panthesr with my tanks but not going to have a choice.


The Panthers killed one of my tanks, but nothing serious. I keep pressing in after the retreating Panzer IVs, they have to hold the objective so I am forcing that battle to happen now, and my tanks go after then Panthers. On the other side I doubled up one infantry and brought up a second from reserve. The trained Panthers had doubled towards the tanks and that is not good so I had to press that objective to force them back.


This is where we really found out this game was gong to be a slog, somehow no one was getting many tank kills even with good odds, but there was allot of bad odds as well. In the forest nothing much was happening except for allot of noise. My Shermans had bailed out 1 of the Veteran Panthers thou, and they guy was doomed to stay bailed for the rest of the game. Meanwhile my rush in with the infantry and light tanks had got the attention of the trained panthers, although it cost me a pair of stuarts.


Here we have the high water mark for the Americans, I destroyed two thirds of the trained Panthers, and my stuarts got rid of one of the AA platoons that was threatening my infantry, but 2 more came in from reserve mind you. Sadly that last Panther passed his test to stick around. Still things were looking up.


Sadly not so long afterwards the battle in the forest finally hit it's stride, but not as I had envisioned. The Panzer IVs killed a bunch of tanks and my platoon withdrew along with the company comander. To make matters worse the Panthers had finally be able to deal with my other tank platoon and the stuarts got killed by the new sets of AA. This meant the Germans would just need to kill 1 more platoon to break my company.


I made an assault against the Panther and the AA around the farm to give it one last good try to secure that area. But the Germans managed to get 5 out of 8 hits in defensive fire and push back my assault. They then took a couple of turns to kill off the defenseless mortars and the game was over. So a 5-2 loss for the Americans, but it was a very interesting and different game. Both of us were really feeling the pressure of the unlucky dice and it just so happened that it was the Germans that managed to pull it out.

I think I had an alright plan just got unlucky in the forest a bit, but I am not certain, maybe going in there was a horrible idea from the start. But at the same time it can be a big challenge to fight Panthers especially veteran ones on their terms.

Thanks;
Mike

Tuesday 19 May 2015

Cangames 2015 - Part 3 Sunday

So finally for part there, here is day 3 of cangames from my point of view. I had to head in early as I was running my Samurai game at 9 and needed some time to set everything up.

Mikatagahara - Samurai Battle, 15mm Pike and Shotte

So this is the battle where the Taekda clan really put their cavalry to good use and crush the Tokugawa/Oda clan alliance at least in the field. This was another winter battle oddly enough, but this time I never told people that so it wasn't an issue hah. I had 6 players which is more then I normally go for, but this is a pretty easy game to pick up so it worked out fine. In order to spice up the battle a bit and give it some flair I made a set of personal objective cards to give the players something specific to do, and this could also be used to have some commanders betray and move of to the other side, although that didn't occur in this battle. Here are the objectives I assigned out, I gave them to specific people instead of letting them choose randomly. I quite liked how this worked and will do it again for sure. The names are all people that were really at this battle who I found interesting for one reason or another, and the italics gives a bit of flavor text.


Takeda Shingen

Upon securing Takeda control over Suruga, northern Shinano, and western KĊzuke, Shingen moved to challenge the Oda-Tokugawa alliance. This was part of Shingens desire to control a territory boarding on the sea. Tokugawa Ieyasu stands in your way and must be dealt with.

In order to complete this objective the Takeda forces must win a decisive victory.
  
Takeda Katsuyori

One of Takeda Shingen’s sons, if you aim to rise in the ranks and one day succeed Shingen you must prove yourself to be a successful field commander.

In order to complete this objective you must break one of the opposing commands without taking excessive losses.
  
Baba Nobuharu

One of Shingen’s famous 24 Generals, and commanded the Vanguard at Mikatagahara. Shingen has ordered you to sweep the plain clear of Tokugawa troops and advance on the fortress Hamamatsu which has been left undefended.

In order to complete this objective you must have some troops and your commander within 2 moves of the Tokugawa board edge, preferably along a road.
  
Tokugawa Ieyasu

Tokugawa Ieyasu has great ambitions and it would be embarrassing to let the Takeda force pass through your realm unhindered. Against the advice of your retainers you have left the safety of Hamamatsu fortress to meet them on the plain.

In order to complete this objective the Tokugawa force must win the battle and retain control of the field.
  
Natsume Yoshimodu

One of Ieyasu’s most loyal retainers. Natsume Yoshimodu convinced Ieyasu to flee the field and survive after this battle was lost, and the gave his life in a hopeless charge to give him time to escape.

In order to complete this objective Tokugawa Ieyasu must be alive at the end of the game, with his force unbroken.
  
Sakuma Nobumori

Dispatched under orders to assist Tokugawa Ieyasu by Oda Nobunaga, Sakuma Nobumori was the commander of the Oda contingent at this battle. However Ieyasu foolishly left the safety of his castle against your advice. You no longer consider this to be an Oda clan battle.


In order to complete this objective your force must be unbroken at the end of the battle and have suffered inconsequential losses. 


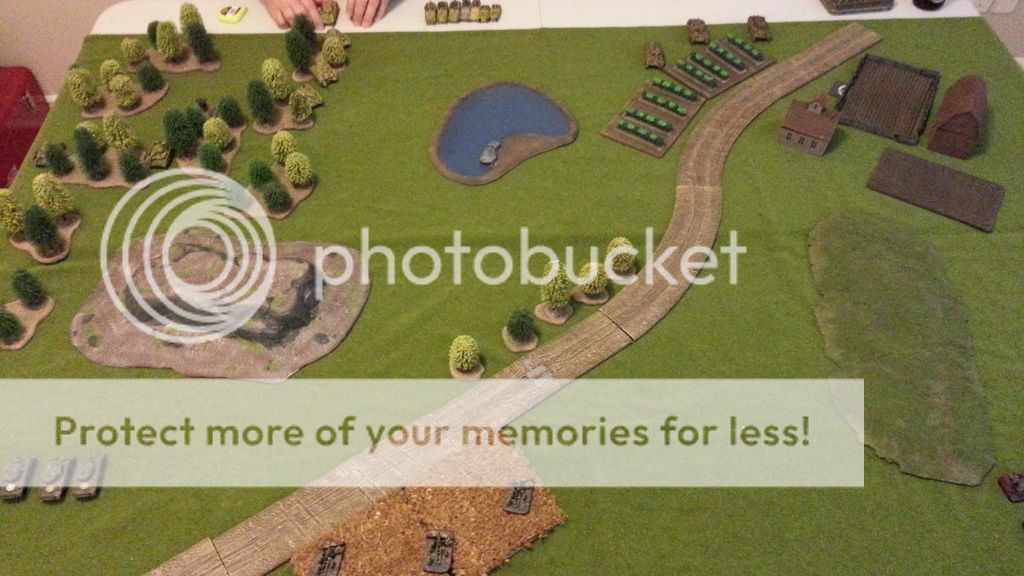
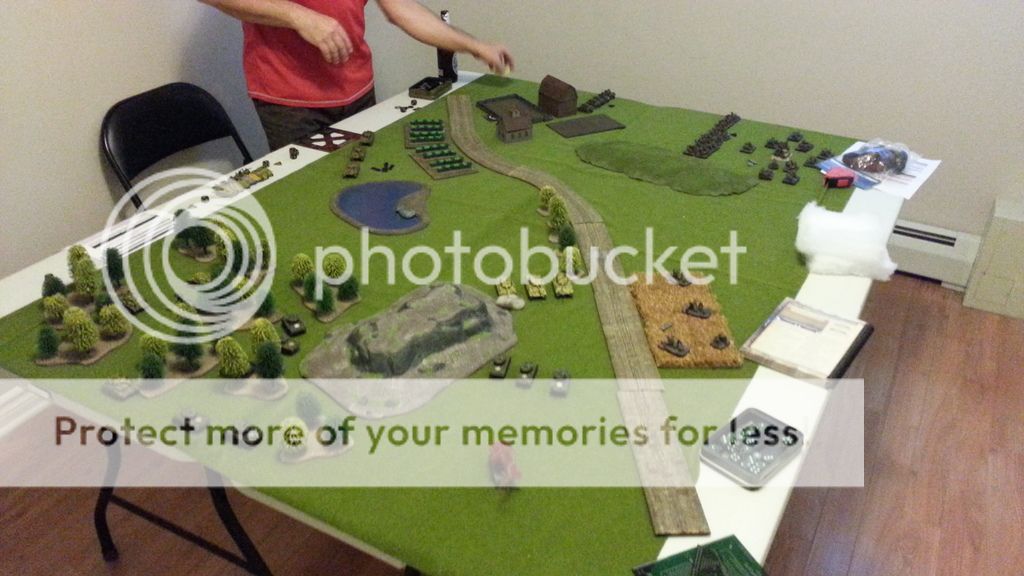
So here is my initial set up, Taekda on the right, Tokugawa on the left, with the Oda troops up top. The Oda troops are supposed to not try and get in the battle to much, but I had assumed that Katsuyori would attack them, as crossing the bridge like that seems unpalatable to me. I really need to replace the green mat thou, my plan is to get one from Frontline or one of the cigar box ones.


Anyway both sides advanced and the Teppo Tai squads started to do some shooting to try and break up the formations a bit. The Oda commander unfortunately failed his first order so didn't get to do to much.


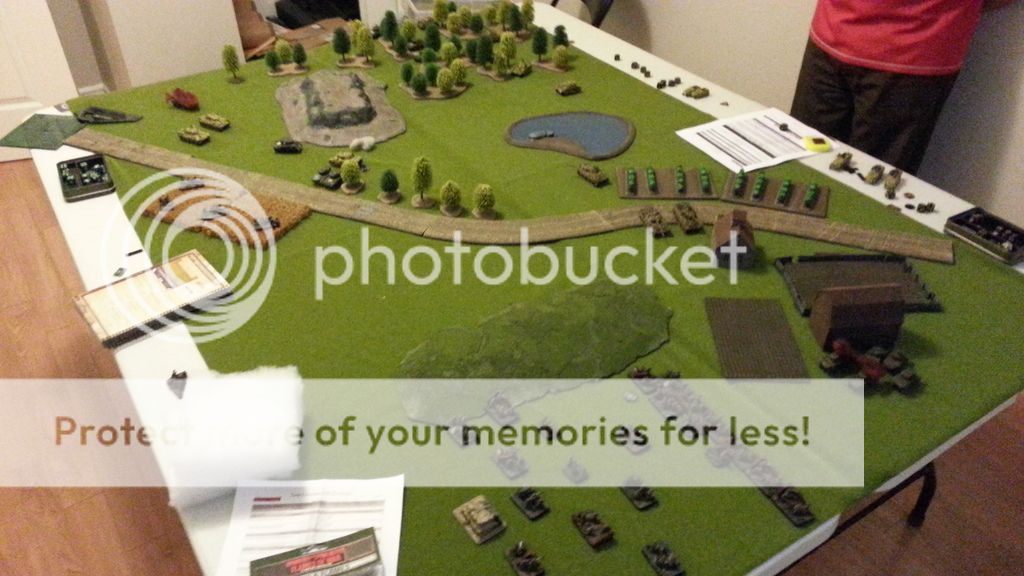
things advance a bit and we start to get allot of combats, the Takeda cavalry is bringing a fair amount of pressure. Surprisingly they tried to force the bridge which is more or less the same thing I did in the test game so that is quite interesting. This version of the rules gives you a big advantage if you are fighting units on your front and flank so not great for the Tokugawa.


The fighting gets intense and some units are being lost. But the cross roads hasn't quite been decided yet. The coins are to represent reroll that the commander can provide if he stays in his Maku. Really I would like to have trukiban (messenger) single figure bases to represent that but didn't get them done. Having separate bases for the commanders after they move off would also be a good thing.


After some tough fighting the Tokugawa force is left broken and retreating. In terms of the personal objectives Takeda Shingen was able to achieve a decisive victory in the battle, and his sub commander Baba Nobuharu was able to break through and take the road. Katsuyori didn't quit impress his father as much as he hope having failed to press across the bridge. Stan with Yoshimada gave it a good go to protect Ieyasu even loosing his head in a duel, so we can consider that to be mostly achieved. Tokugawa Ieyasu didn't quite manage to win the battle or hold out, but he gave it a real goo try. The Oda commander thou was very successful of staying out of the fight and making it not look intentional having failed a few key command rolls, and still managed to move up and put some pain on the trapped cavalary.

I think everyone enjoyed it so seemed a success on my part, thou perhaps a touch on the short side again. I was asked to run something like this again at the club so will have to do a few more units and details and try and get another battle lined up.

The dials are very nice with the Mon for the relevant clan etched into them, made by the dial dude.


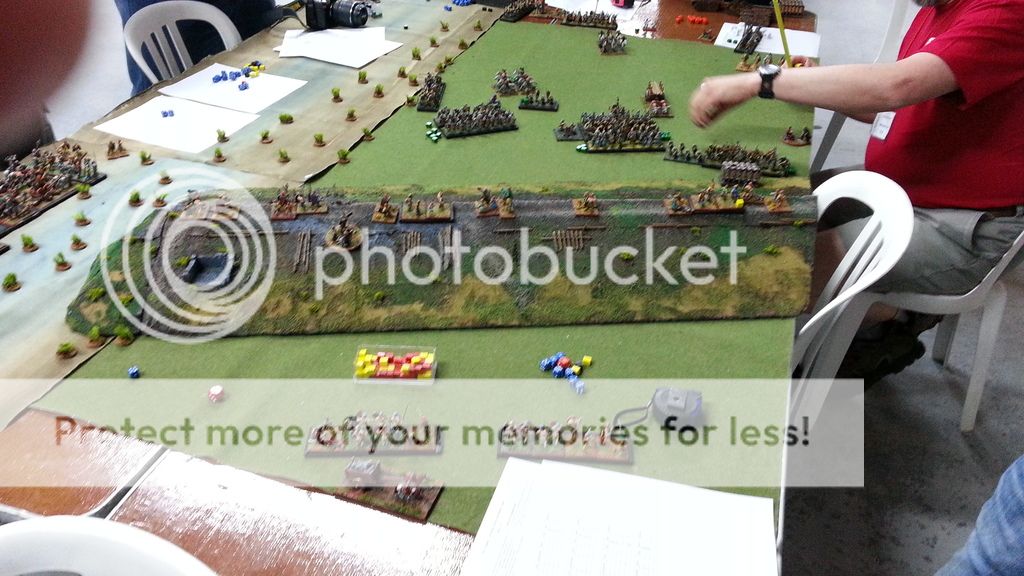
In terms of other battles going on at Cangames I didn't take as many pictures this day it seems but here's what I have.

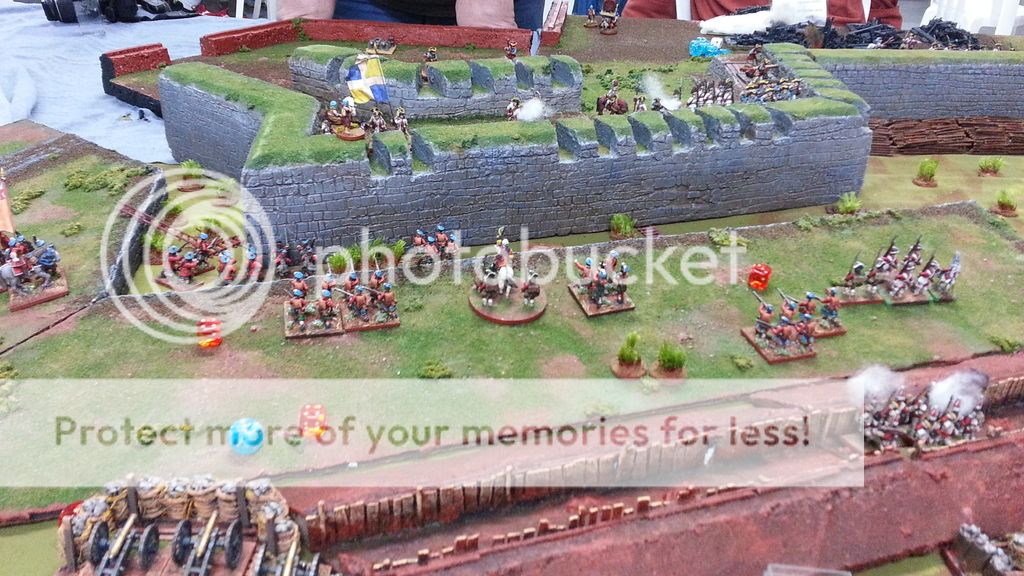
Seven Years War, 15mm Warmaster Historical Variant
Nick


Quite a huge game, really get the sence of a big battle playing out.

Mall set up for a Zombie Game
Not sure on the derails


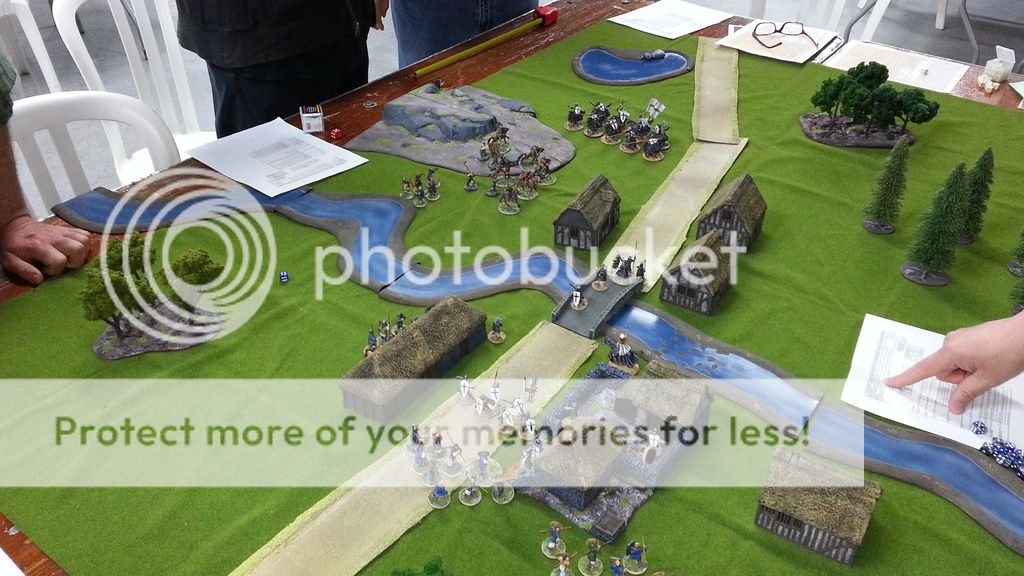
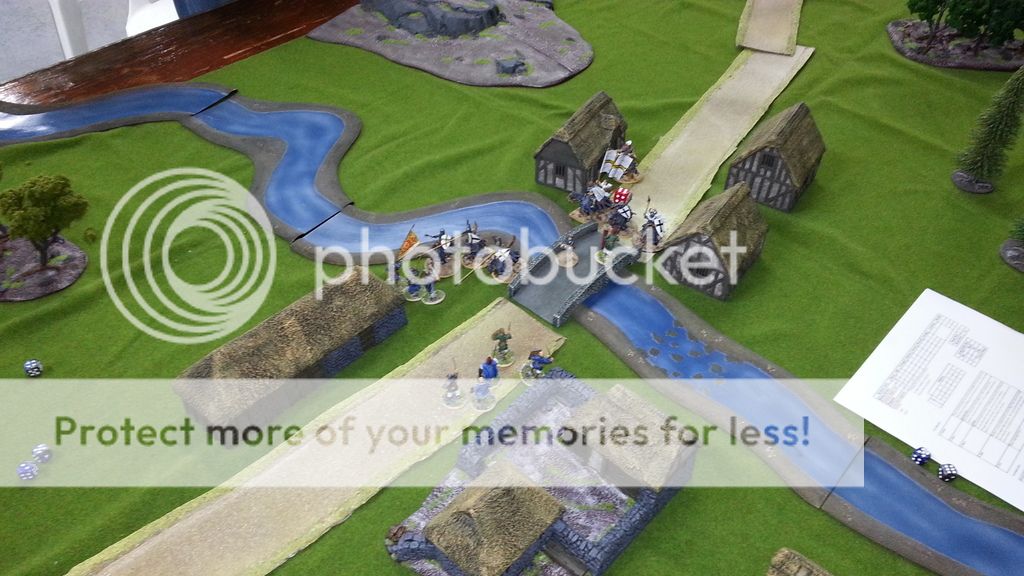
Waterloo, 28mm Napolenics, Blucher
Tod


Shot of Tods Blucher game with lots of nice 28s.

Force on Force, Elements of destruction
Good Duncan

In the afternoon I played in Duncan's Force on Force game. We had some special forces types trying to take back some weapons of mass destruction from some bad guys. I had the special forces type, and Ed was bringing in some US Ranges from reserve in jeeps. Stan and Chris were running the bad guy. I don't have that many pictures for this one for some reason.


The premise is that the special forces guys HALO drop in to surprise and take up positions around the objectives, while the rangers run up to support, When then had to wether the storm and take out some missile sites in an old monastery.

The first phase went well and we took over the sights with a few casualties.


Then things got a bit dicey for awhile as allot of insurgents turned up. But due to our superior supply and better dice due to much better training were able to shoot them up real good without to much trouble. Although there were a few very dangerous moments where it could have shifted either way. The Rangers had allot of problems bringing up the trucks and had a few destroyed and a couple of casualties and wounds.


In the end we managed to get our operatives into the monastery to take out the missile sites, and the ranges rushed in to the small white house which was a major hot spot and narrowly prevented them from taking out the wounded and pinned down operatives and rangers hiding out around the shipping crates. So a costly marginal American victory I think it was called.

So that was the last game I played in as I was to tired to bother with the DBA tournament. Had a great time at the convention again and had a bunch of great games.

Thanks;
Mike


Cangames 2015 - Part 2 Saturday

So on Saturday I had to get up early to do a little bit of painting to finish off some stuff for my game on Sunday, just a few command stands a drum and re-basing a few guys. No big deal. I will toss up a picture of them now just to get credit in the logs.


Pledge Status 2015:
Bought: 142 
Painted: 102 (2 command stands and drum)
Total: -40

Siege of Louisberg:

The main event for Saturday was the Siege of Louisberg, Ed had a very nice set up so I was quite excited to play in this one. They were using some modifications of the Muskets and Tomahawks rules and the English had to take the fort back from the French.


Here we have the master piece set up, so as you can see a very impressive but huge piece of terrain. Complete with governors mansion, town both burned and not, harbour, walls, ect.. I was to command the Scots in the closer trench, then we had some English and big guns, and then even more English. Looks like lots of people to attack and not many on the walls so seems easy enough.


I am not one for subtly so I attacked with everything right off the bat, this quickly got the rangers killed but no matter. The way this game works is that cards from the deck decide when types of units get to move, so there is a card for all french regulars, or english rangers, ect.. So we would be hoping for some English cards so we can climb up the wall before it gets manned. As I was to learn it only takes a few units to cause allot of problems.


Our compatriots by the Governors palace were working a similar plan it seems.


This plan seemed to be going well at first, and I got a fair number of scots up on the left part of the wall, and had guys trying to climb ladders all down along it. But then we got a few French cards and a unit of guards and some militia came to defend, followed closely by some regulars. This saw my Scots pushed back off the wall.


These units then spread out into a firing line and started to murder the Scots. I tried climbing the wall a few more times but with not much success. Towards the end John gave them a good round of fire with a full regiment firing in line and put a good hurt on the regulars so that was at least good.


Fortunately for us the English commander attacking the Governors palace actually knew what he was doing and so managed to capture it somehow. Both sides were getting down towards break points, but with the palace in our control it was ruled an English victory.


Saturday was probably the busiest day so here are a few shots of some of the other great games that were going on.

Face of Battle:
Mike Ball I think

28mm WW2 game with a very nice set up.


15mm Napelonics with Lasalle:
Bad Duncan


28mm WW2, Bolt Action
Jeff


28mm Roman vs Ancient British, Hail Caesar
Good Duncan and Ed


6mm Battle of 5 Armies (Hobbit Book), Warmaster
George

\
15mm WW2, Flames of War
Serge


So there you have Saturday, tons of great games going on, lots of great set ups. Fun times had by all.

Thanks;
Mike

Monday 18 May 2015

Cangames 2015 - Part 1 Friday Afternoon

So as previously Discussed we had our local wargaming convention this weekend, Cangames. So figured I would put up some pictures and such of what went on, at least from my point of view.

Friday:

Baltic Crusades Game

So on Friday afternoon I ran my Baltic crusades game with the Teutonic Knights facing off against some Rus. The basic premise was that it was just after the battle on the ice and Prince Bishop Herman got trapped in a village as the Rus closed in to kill him. But there was a relief force of Knights riding down to break him out. I used a historical variant of the Lord of the Rings Strategy Battle Game from GW.


So here we have some Pagan Rus attacking the village which is defended by the Teutonic Foot contingent. You can just see the Bishop below the bridge abandoning them to their fate as he rides over to join up with the Knights. Meanwhile Nevsky and his lot ride out to confront the crusaders.


Here we have the clash of the Knights, and the Varangian guard are running to catch up with their 2 handed axes they can really kill some Knights if they are able to win a fight at least. The rus bows continue to loose arrows into the bridge area.


Checking back in with the Knights we see the Teutonics are getting the upper hand in a major way. I think Nevsky is just about to be killed here.


Meanwhile the Pagan Rus are clearing out the village, so it looks like maybe the Bishop made the right choice.


And here we are at the end of the game. Both forces were broken and so everyone had to take a courage test to stay on the field. Those clustered around a commander would pass automatically when he passed. The Teutonics were all grouped up so they were able to pass all of their tests with ease, but the Rus were much more spread out and allot of their weaker troops ran away which caused a route. The Bishop was still alive and Nevsky was not so a good win for the Teutonic Knights. But I think everyone had fun. Some people commented that the game was over a bit fast so will ahve to look at drawing things out a bit for next time maybe. Also some concerns over the lack of winter terrain!

There were a few other games going on Friday afternoon but not to many. Dylan had a nice Batman table set up for demos which I thought was cool.


Thanks;
Mike